We first start by defining the Observable state of our application. This is usually the first step in modeling your application. In this case, we have a TodoList managing a list of Todo instances.
A Todo is defined by a simple class like the following.
Next comes the TodoList, which manages a list of Todos. The core-state of TodoList includes:
a list of Todos
a filter that tracks the visibility-filter applied on the list of todos
the currentDescription, which tracks the description entered by the user for a new todo.
This can be seen with the @observable properties.
import'package:mobx/mobx.dart';
part'todo_list.g.dart';
enum VisibilityFilter { all, pending, completed }
classTodoList= _TodoList with _$TodoList;
abstractclass_TodoListwith Store {
@observable
ObservableList<Todo> todos = ObservableList<Todo>();
@observable
VisibilityFilter filter = VisibilityFilter.all;
@observable
String currentDescription ='';
}
Computed Properties
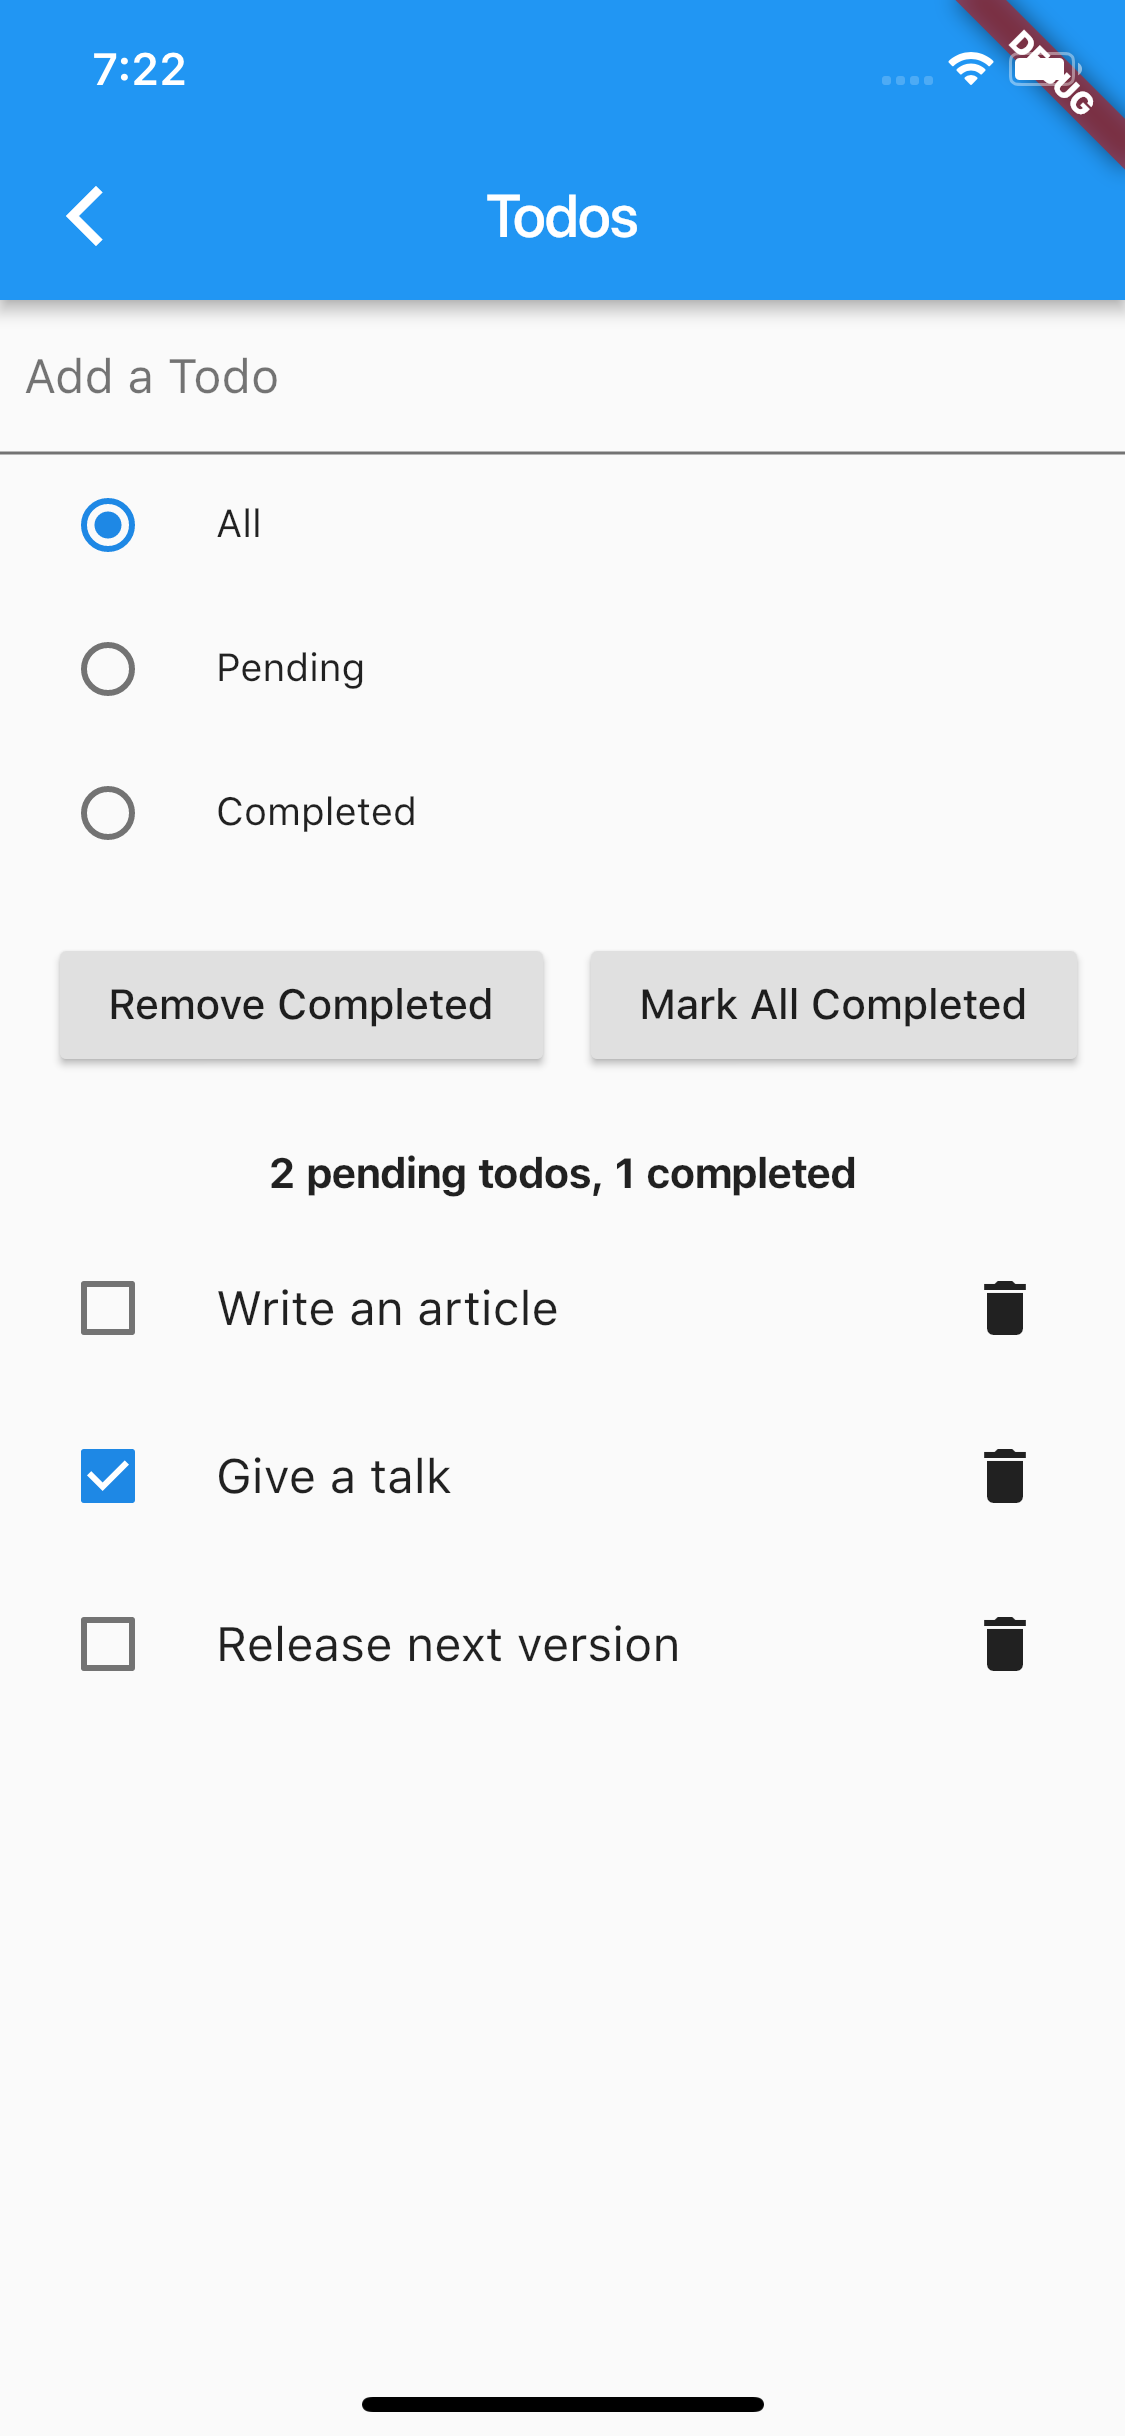
To render a useful UI, we also need a bunch of derived (aka computed) properties. These properties are not inherent to the TodoList but derived from the core-state. Our UI looks like below, so you can identify the mapping of the computed properties to the various widgets.
Actions are the semantic operations that mutate the observable state. They also create a transaction-boundary to ensure all notifications are sent out only at the end of an action. In our case, we have a few actions such as:
Note that all of the details of the store are together. This is an important benefit of MobX: it keeps all the state-related code together. Co-location is an important virtue and adds lot of value as you build more complex apps with sophisticated state-management.
Co-location also helps in readability of your code. By choosing Domain-specific names for your properties, actions and stores, there will be a clear mapping between the Business-domain and state code.
Now that the state has been defined, the UI becomes a natural, and visual extension of the Store. In case of MobX, we can sprinkle the Widget-tree with as many Observer widgets as needed. You can observe as little as you want or as much as needed!
MobX is smart enough to know what you are observing and automatically starts tracking it. There is no extra work needed on your part. This results in friction-free code and makes it a joy to use Observer.
At the highest level, this is what your widget tree looks like:
We are supplying the state using a Provider<T>. This comes from the package and makes it easier to access the store in all of the children. Since the state is kept outside of the Widget, this is also called "Lifting the State", which makes the root Widget a StatelessWidget. Line#1 lifts the state with the Provider<TodoList>. Each child accesses the store (aka state) using the Provider.of<TodoList>() passing the BuildContext as argument.
The package
We strongly recommend the use of Provider<T> to supply the state of your Widget and also for the application. Lifting the state via a Provider makes it convenient and avoids using globals to track your store. It also comes with several conveniences that makes it noteworthy. This is part of the package and definitely worth using in your apps.
Each of the children in the root-Widget is an Observer. Let's take the simplest of all the children: Description.
The builder-function passed into Observer monitors all observables referenced inside. In this case, the list.itemsDescription is referenced. The act of reading this observable is a hint to MobX to start tracking. Anytime it changes, the Observer will rebuild the widget. Notice that there is no extra work needed from your side! Using the Provider.of<TodoList>(context), we get access to the list.
TodoListView
The TodoListView is yet another Observer, in particular of the list.visibleTodos
classTodoListViewextendsStatelessWidget{
@override
Widget build(BuildContext context){
final list = Provider.of<TodoList>(context);
returnObserver(
builder:(_)=>Flexible(
child: ListView.builder(
itemCount: list.visibleTodos.length,
itemBuilder:(_, index){
final todo = list.visibleTodos[index];
returnObserver(
builder:(_)=>CheckboxListTile(
controlAffinity: ListTileControlAffinity.leading,
value: todo.done,
onChanged:(flag)=> todo.done = flag,
title:Row(
children:<Widget>[
Expanded(
child:Text(
todo.description,
overflow: TextOverflow.ellipsis,
)),
IconButton(
icon:constIcon(Icons.delete),
onPressed:()=> list.removeTodo(todo),
)
],
),
));
}),
));
}
}
AddTodo
Similarly, here is the AddTodo widget that observes the list.currentDescription and also fires the list.changeDescription action.
classAddTodoextendsStatelessWidget{
final _textController =TextEditingController(text:'');
@override
Widget build(BuildContext context){
final list = Provider.of<TodoList>(context);
returnTextField(
autofocus:true,
decoration:constInputDecoration(
labelText:'Add a Todo', contentPadding: EdgeInsets.all(8)),
controller: _textController,
onChanged:(String newValue){
list.currentDescription = newValue;
},
onSubmitted:(String value){
list.addTodo(value);
_textController.clear();
},
);
}
}
ActionBar
And finally we have the ActionBar that contains the radio-buttons to select a filter. It also has the buttons to mark all todos and remove the completed ones.
Notice that there is no business logic here. Most of the state of the UI is controlled by computed-properties. This is an important modeling tip that you can use in state-management and even unit-testing!
Hope you can see the clarity of expressing the observable-state with @observable, @computed, and @action. Using the Observer widget, you get an automatically-updating Widget that renders the observable-state. To pass around the state, we rely on the Provider<T> from the package.
A more comprehensive example is available in Brian Egan's Flutter Architecture Samples, that covers few other use cases like localization, persistence,
unit-testing, navigation, etc. Do take a look here.
 package and makes it easier to access the store in all of the children. Since the state is kept outside of the